Home improvement projects aren’t all knocking down walls and home equity loans. Some things can be done with just a little extra cash and some elbow grease. If you’re bored with a particular room, you could always just change a few little things here and there. Decorative hardware for your cabinets. A new set of pillows, throws and curtains for the living room. One quick makeover that will never go out of style – especially with savvy DIY-ers like yourself – is a fresh paint job. You can literally leave everything else as it is, just slap a new coat of paint up there and in the span of a weekend your room has gone from drab to fab. To get the most out of your efforts, here are our top tips for successful DIY paint projects.
Where To Invest
It won’t be super cheap. You can easily spend over a hundred bucks on primer and paint alone. That doesn’t mean you need to break the bank on all your supplies, though. You want to make an investment, yes, but you can cut corners with certain supplies such as drop cloths, paint trays and liners, roller handles and heads/brushes. You want the bulk of your money to go towards a high quality paint and professional grade painters tape. Tape? Really? Yes. Cheaper brands either don’t stick, get too sticky and pull up paint, or even bleed through leaving you with uneven edges. Do you need primer? Lots of brands offer paint with primer included. In this case, unless you’re converting from a dark color to a light color, the extra primer isn’t necessary.
When To Paint
It can honestly be done in a weekend. If you prep your room the Friday evening before (moving all the furniture out or to the center of the room and securely covered, taking off switch plates, and taping edges and trim) then you can start bright and early Saturday and have everything put back in place by Sunday night before bedtime. But choosing the right weekend weather matters. Cold and wet weather will increase the amount of dry time you need to wait between coats. Typically, you wait 1 – 2 hours between coats (and you always apply a second coat). If the humidity is high or the climate exceptionally chill, you can expect a wait period of closer to two hours. You want the paint to be dry to the touch before applying the second coat. Too wet and it will come right back up on the roller or brush.
Get Equipped
Whether this is your first time around the block or you’re well past your first rodeo, you will need the right tools. An angled brush for reaching into corners and cutting around edges and trim is essential. Rollers simply don’t get all the way into those crevices, and relying on your tape to save you around the window frames and baseboards is just asking for trouble. The wider the angled brush, the less room for error. When it comes to rollers, you need to know your nap. The nap of a roller is the thickness of its padding. For smooth walls, you need a thin nap. Highly textured walls require a thick, fluffy roller to lay down an even layer over those peaks and valleys. The wrong roller and you’ll be wasting both time and paint.
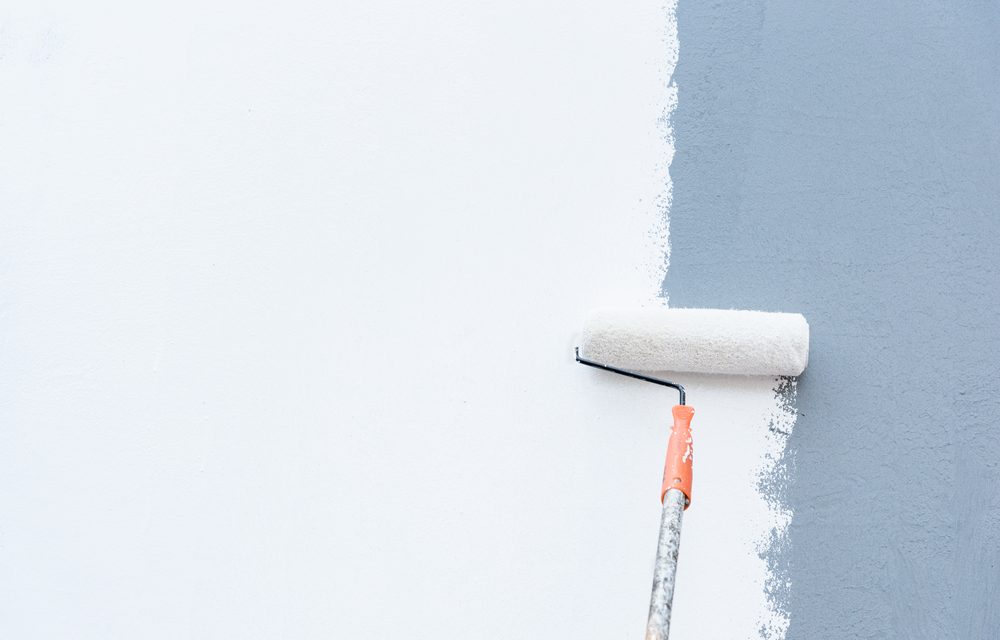
Process
You always want to start with your edges and corners first. Once you’ve done the intricate work of outlining, you’re ready to fill in with the roller. Move your roller in the pattern of an uppercase ‘N’. This distributes the paint in such a way that it blends evenly and doesn’t leave any lines from the edges of the rollers. Depending on how big your room is, you may need to go one wall at a time. This is also true of walls that have a lot of cutting in around edges and trim. You want to apply with a roller before the edges dry for a seamless finish. If the edges get to dry before filling in, it will show. Always keep a damp rag nearby in case you spill or accidentally paint past the tape. It’s far easier to fix these mistakes as you go than if you left them until the very end when the paint has dried.
When all is said and done, you’ll have a revitalized room that looks like a professional came in and did the job for you. But at a fraction of the cost.